|
The following steps will help you install PTC Creo 9
|
|
Step 1 - Download Creo
|
||
|---|---|---|
 |
Click here to download Creo version 9. Alternatively, the download is available under the Downloads menu.
|
|
|
Step 2 - Create a PTC account
|
||
 |
Click the link below to create an account. Complete all fields with a red * https://support.ptc.com/appserver/common/account/createAccount.jsp?tab=student |
|
|
Step 3 - Install Creo
|
||
|
|
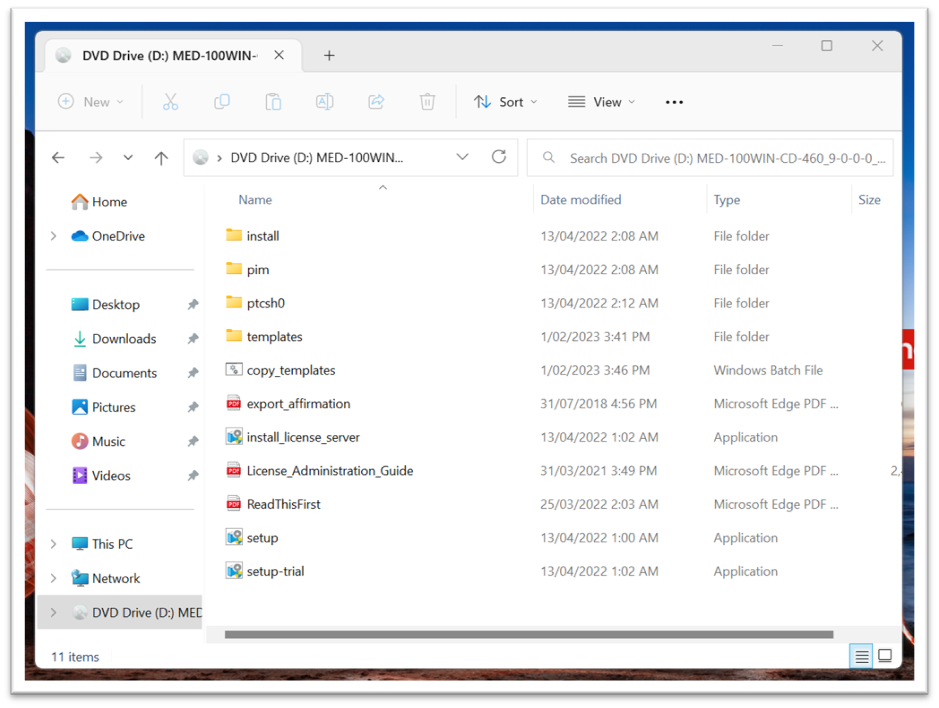
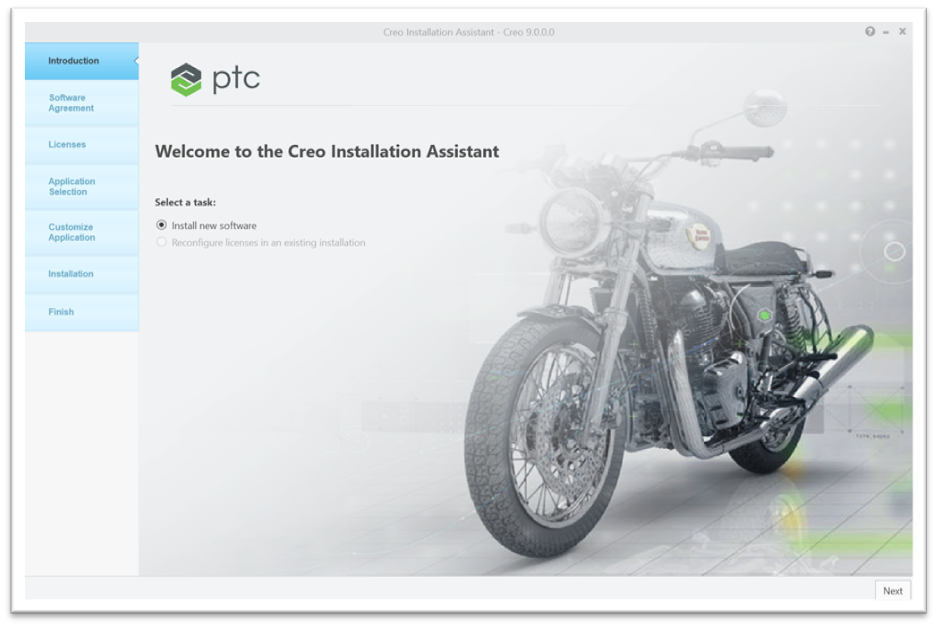
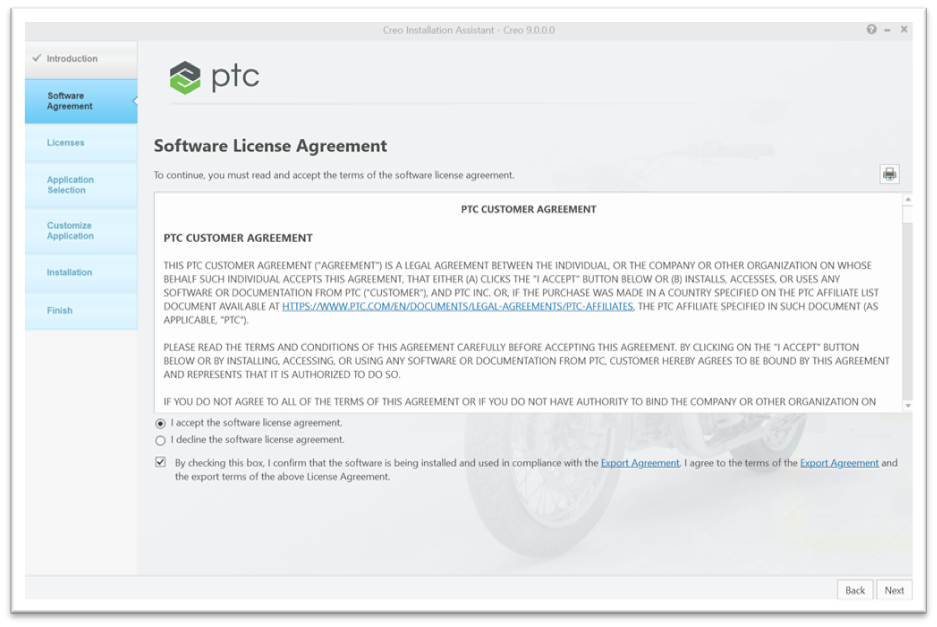
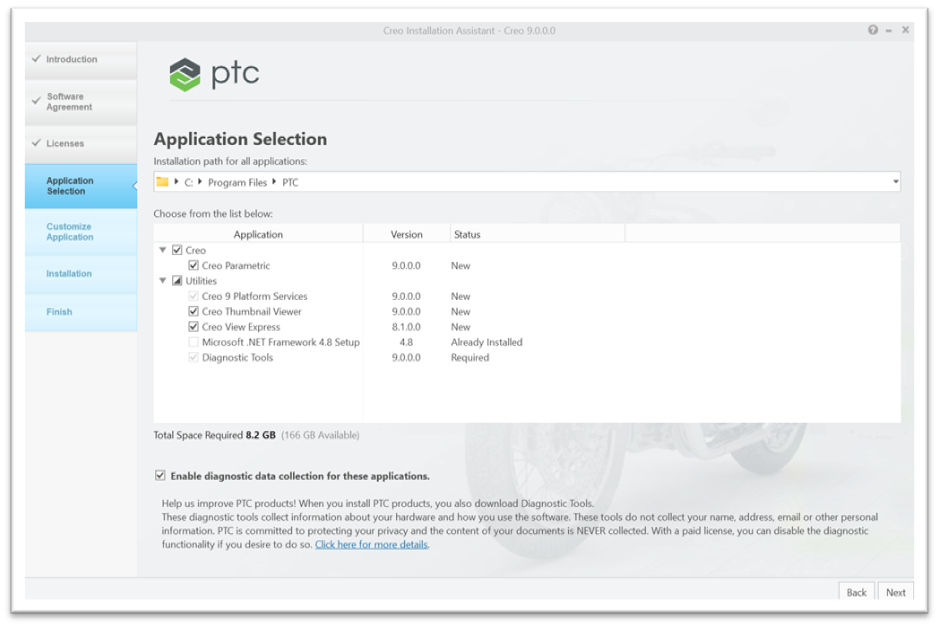
Open the downloaded file. The Creo Installation Assistant will now start. f) On the Customize application screen, click 'Install' |
|
|
Step 4 - Run batch files to set units and templates
|
||
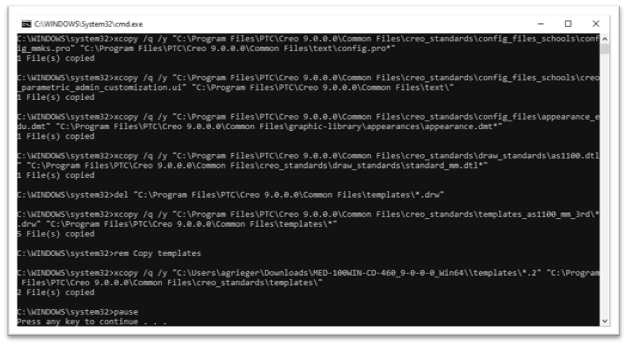 |
From the downloaded files find the 'configure.bat' file. Right Click 'configure.bat' and select Run as Administrator. If you see 'File(s) Copied' messages, this step has worked. Press any key to finish the setup of Creo. |
|